Monday, 8 February 2016

Thriller: Shoot-Day Setup

Intro
The basic concept of how we would dress the house was as if it had had a messy university student living in it for a few days and then left like that for a week. In order for the audience to interpret the house in this way, we had to pay a lot of attention to every little detail that we added, along with items already present that needed to be moved/removed.

Kitchen


Here, we added washing up, dirty plates and cutlery, old wrappers, used cans etc. to give the impression of a young messy lazy person living here.


Here, we added a bowl of mouldy fruit, along with empty cereals, spreads, mouldy bread, and old porridge in a pan, to hint at the fact that no one has been in the house for a good week. As well as this, we needed to add some light to this corner of the kitchen-top so we placed a fluorescent light with daylight filters (to match the rest of the lighting in the room) on top of the fridge shining onto this area.


Living Room


In the living room, we basically made a mess with cushions, blankets, empty beer bottles, dead flowers and messy DVDs to add to the illusion.


We then added the family photos that included real old photos of our lead actor with certain relatives, along with photos from the shoot with the fake family at a recent time.
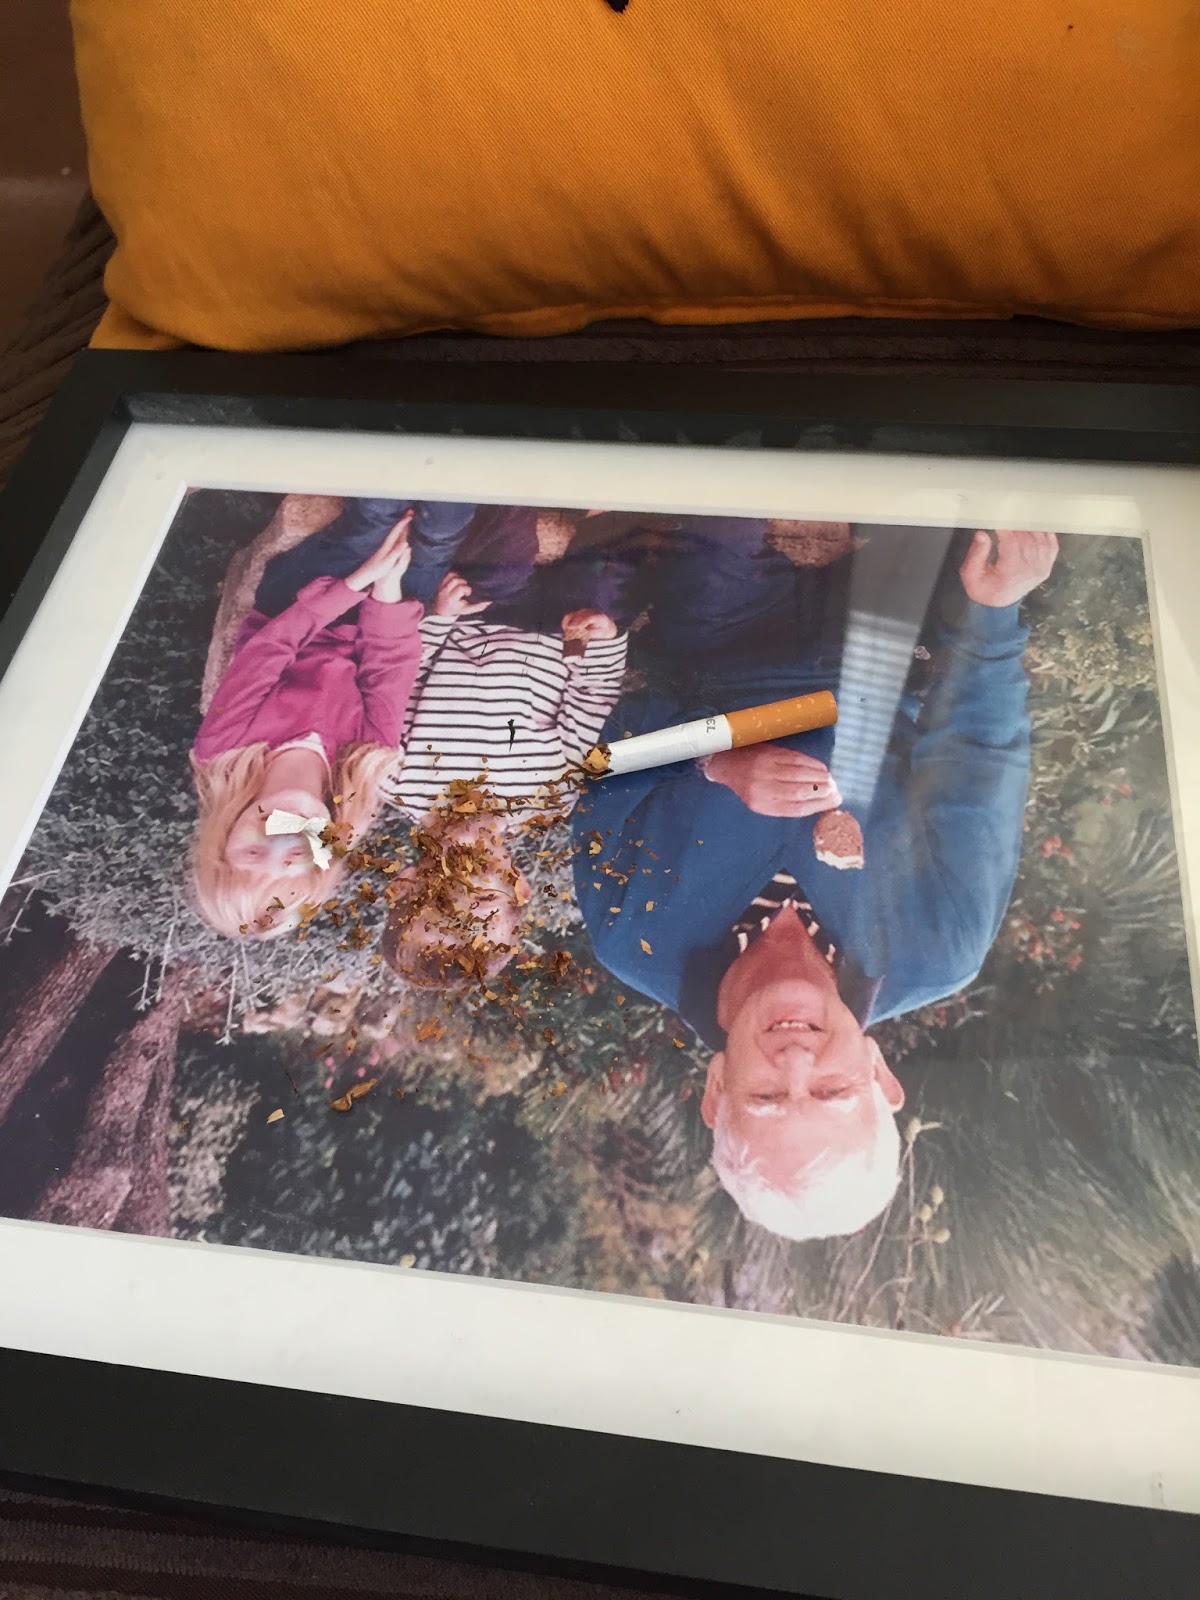

Various piles of tobacco were deposited around the house for that extra bit of detail.
Finally, we experimented with the venetian blinds in the room to give beautiful lighting texture within the room.

Stairs


To hint at a part of the house was being redecorated, we added various old paint pots, brushes, and tools.


More added teenage mess.

1st Bedroom


This bedroom was dressed as the student's (Ben's) bedroom, so we messed up all the bedsheets, added used mugs and tissues, and threw magazines and clothes on the floor.


2nd Bedroom (Bloody)


BEFORE


The clean, tidy but cramped main bedroom was transformed into a messy, empty and bloody room, currently in the process of being redecorated.


AFTER (3 hrs later)


HOW? ...


First, we lay all the plastic dust sheets over the entire floor and bed, in order not to spill any fake blood or mess up the floor/bed with mud/dirt.
We then lay all the pre-bloodied fabric dust sheets on the bed and on the floor. We arranged them so that the pool was underneath the body and the splatters come out to the left and right.


We then experimented with some lighting that had to work with the settings we had used on the 5D throughout the whole shoot. We decided to close the curtains and switch on the main tungsten house light on only, while adding a daylight filter over part of it. Altogether, this gave a warm and dark look to the room through the camera.


Makeup


Firstly we got the actor to lay in the set position on the bed. We sprinkled and rubbed talcon powder onto the back, arms and face of our lead actor to give the impression of pale skin and a body that had all the blood drained from it. We then used a "bruise wheel" (selection of makeup paint colours used to create bruising) to add bruising to the lower sides of his back, arms and neck to show the blood had all drained to the underside of his body, once it had stopped flowing, and then applying pressure on his muscles and skin for an extended period of time. Then we added multiple bloody gashes on his face and arm using thick fake blood.

Finally, we poured lots of liquid fake blood around the side of his body on the sheet creating a blood pool beneath him, and then dripped it down his arm where it collected at the bottom of his hand and dripped onto the floor below.

Camera Setup
We had the pleasure of using the Canon 5D with a 35mm prime lens for our shoot. We set the 5D to a focal distance of 3ft with a focal range of +/- 9in. We attached the 5D to the handheld rig we decided to use on the day.


Sunday, 31 January 2016

Thriller: General Preparation

Thriller TO-DO List


I produced a to-do list for my group where they could sign up for purchasing/organising certain items for the thriller, and then tick the box once they had completed each task. This seemed like the most efficient way of organising every item while keeping the whole group involved.

Obtaining all our Mise en Scene

In-School:

Paint pots/brushes...


We searched in the Media Studies Dept. storage containers for certain items. We eventually found some old paint pots and used brushes that were perfect.

Bought Online:


Brought In (from home):


Blood Splattering Dust Sheets


We mixed industrial fake blood with water in a bucket.
Laid the dust sheets out flat on the ground outside.
Got paintbrushes and flicked/splattered blood across the dust sheets in roughly the same directions, hopefully giving the impression of knife slashes.


Then we hung the sheets up on metal bars to dry.
The last dust sheet we soaked the middle of the sheet in the bucket to give the impression of a pool of blood underneath the dead body.


Practicing with Camera Rigs


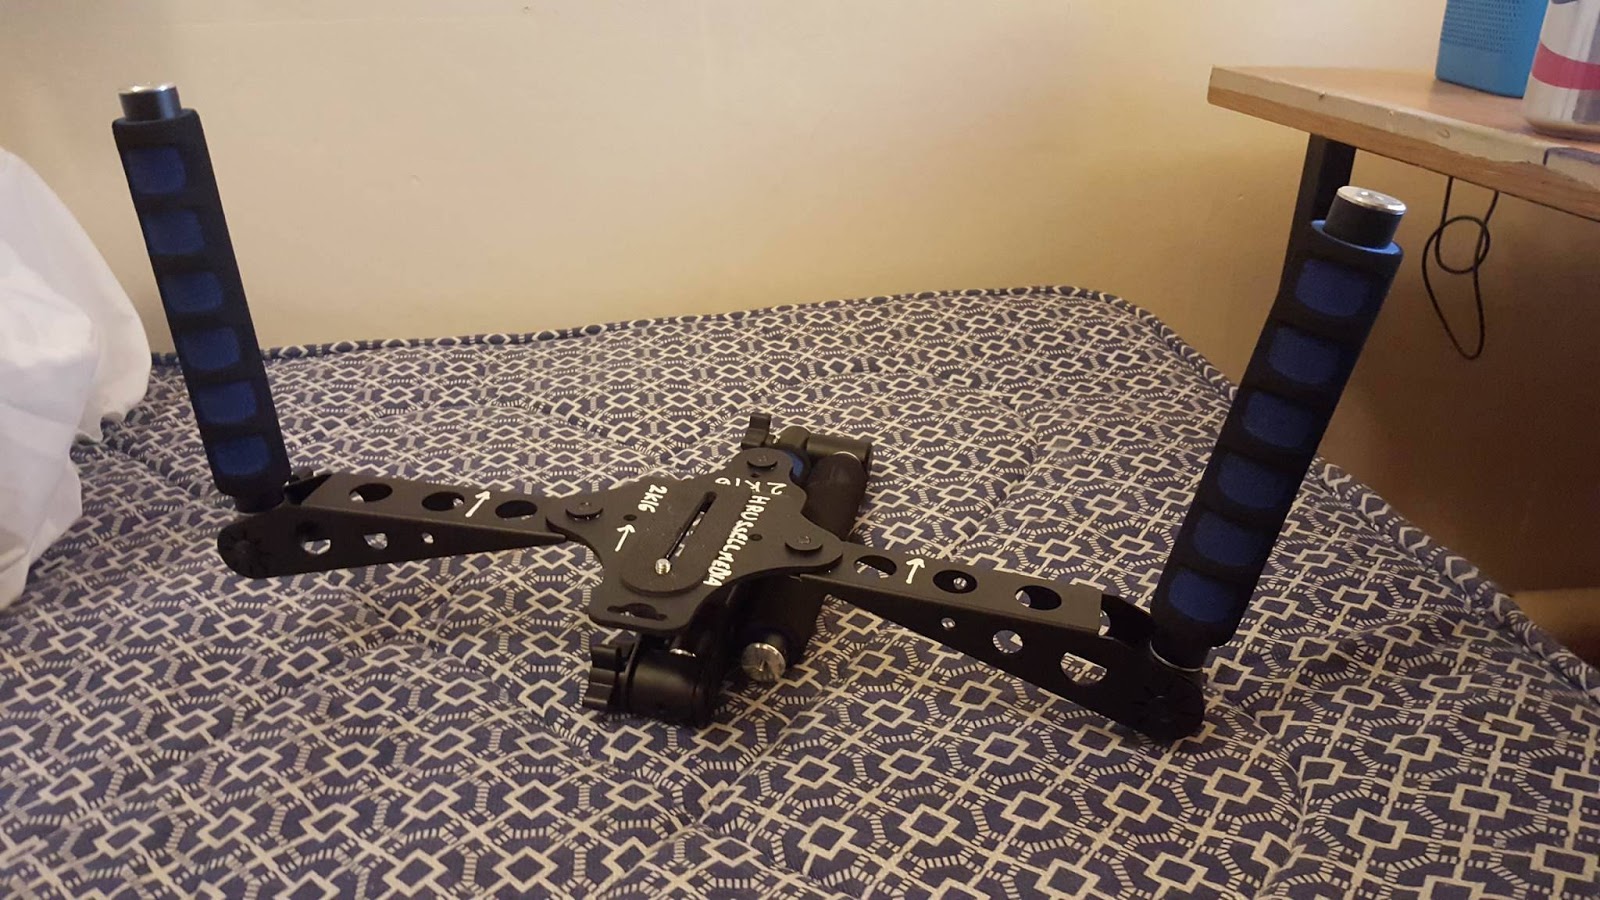
I spent the time back at my house practicing with two of my friend's camera rigs. One was a stabiliser with a gimbal, and one was a simple hand-held handle utility. The stabiliser made the shots incredibly smooth and fluid, but was incredibly hard to use, heavy and not particularly mobile or practical. The hand-held rig gave shots that weren't as smooth, and actually a little shaky at times, but was much lighter and allowed me to manouvre easily, giving me the ability to get very low to the ground (which was a key part of the one-shot) and rotate round easily. I couldn't decide which one to use so I took both along with me to the shoot, and make the decision there.


Friday, 15 January 2016

Preparation for Evaluation Question 1

1) What kind of media institution might distribute your media product and why?


  • Location: UK
  • Genres of film they specialise in: Thriller, Drama, Horror, Fiction.
  • Budget Size: High, but not over-commercialised
  • Average target audience: Male, 18 - 50
  • Similar Directing Style: Quentin Tarantino

  • Initial ideas: Miramax, Dimension, Weinstein Co. and Columbia


2) Who would be the audience for your media product?


  • Product's target audience: Male, 18 - 40, Western society 
Typical audience member profile: 
  • Male, 25
  • Appreciates quality of film, strong taste, high standards
  • UK/US suburban resident
  • Looks after his home and cares for his family
  • Interested in: Thrillers, Dramas, Horrors
  • Enjoys heart-pounding tension and adrenaline
  • Most-likely educated to a relatively high standard
  • Middle-income
Features the Audience can Relate to:
  • Student-life
  • Family and friends worrying about you or vice-versa
  • Home and family life
  • You and siblings growing up
  • Being home-alone